
Go、Rust 这俩语言火起来后,又爆发了一波造轮子的热潮。Go 有大名鼎鼎的 Kubernetes,Rust 也即将出现在 linux 内核的 6.1 版本中,除了这些杀手级使用场景,还有一些较小的轮子,基本都是杀手级场景的衍生场景,Go 专注云场景、后端场景,Rust 专注 linux 环境——最近好像不少人在用 Rust 狂写命令行工具。今天要体验的 Caddy 就是用 Go 写的 Web 服务器,Github 43k star 的项目。
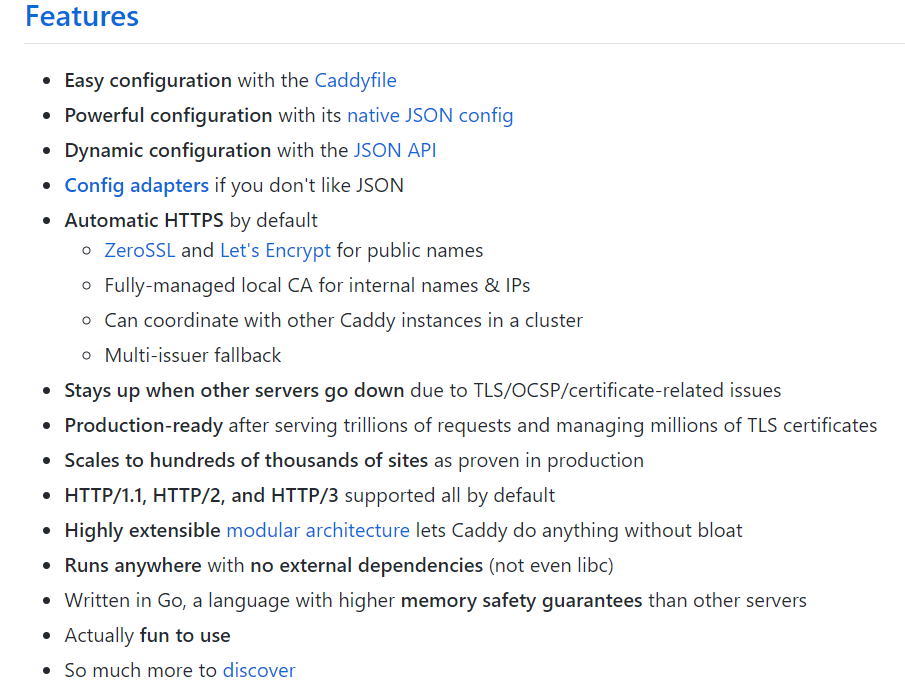
主要用途:Web 服务器、反向代理。看起来和 Nginx 属于同类产品。先看看丫是怎么客观地吹自己的🤔。
浏览一遍我们直接上路,在 Fedora 36 上的安装体验比较丝滑。
cq@fedora ~> sudo dnf install 'dnf-command(copr)'
cq@fedora ~> sudo dnf copr enable @caddy/caddy
cq@fedora ~> sudo dnf install caddy
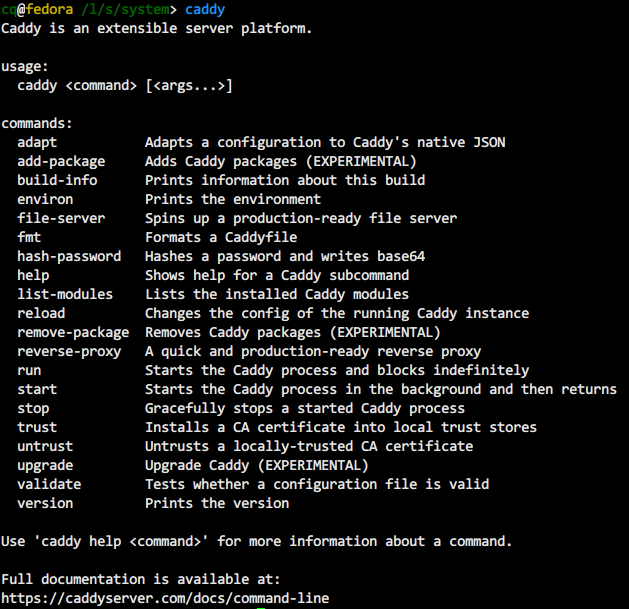
三条命令执行过后,就算安装成功了,可以在 /lib/systemd/system/ 下找到 caddy.service、caddy-api.service 两个服务。命令行也可以直接执行 caddy,指向 /usr/bin/caddy。
使用 caddy run 就可以按默认配置把应用起起来。

Caddy 主要支持三种配置方式:Caddyfile、caddy.json、API。前两种都是静态配置文件,最后一种是动态配置。除了主流的三种,也有若干 config-adapter 支持从其他配置格式转译过来,如 nginx、yaml、toml。配置加载进 caddy 后,都转换为 json 格式。
可以写一个 Caddyfile,内容如下,在启动的时候加载。
:2015
respond "你好,法外狂徒张三"
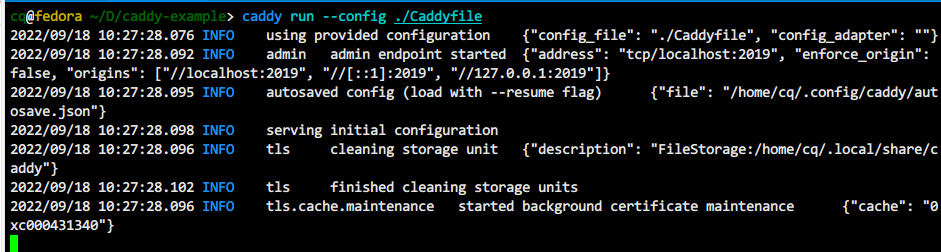
管理端口是 2019,服务端口是我们指定的 2015。

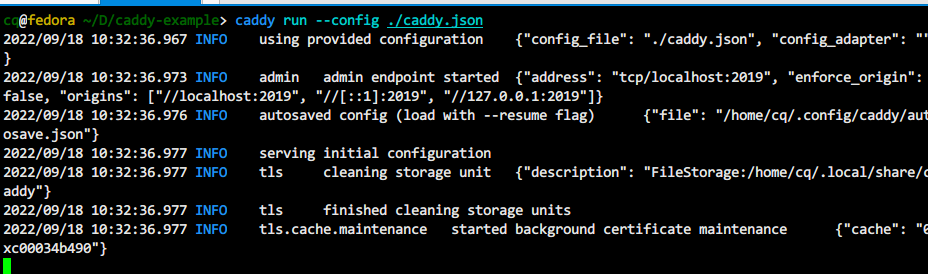
也可以将配置写为 json 格式文件,在启动时加载。
{
  "apps": {
    "http": {
      "servers": {
        "example": {
          "listen": [":2015"],
          "routes": [
            {
              "handle": [{
                "handler": "static_response",
                "body": "Hello, world!"
              }]
            }
          ]
        }
      }
    }
  }
}
caddy 也支持吐 metrics 给 Prometheus。
更详细完整的配置规则见 directives,本篇就不赘述了。
文件服务
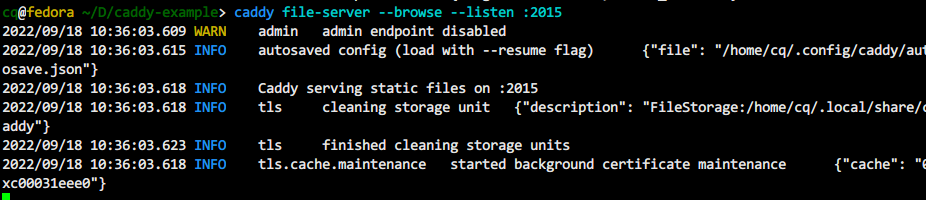
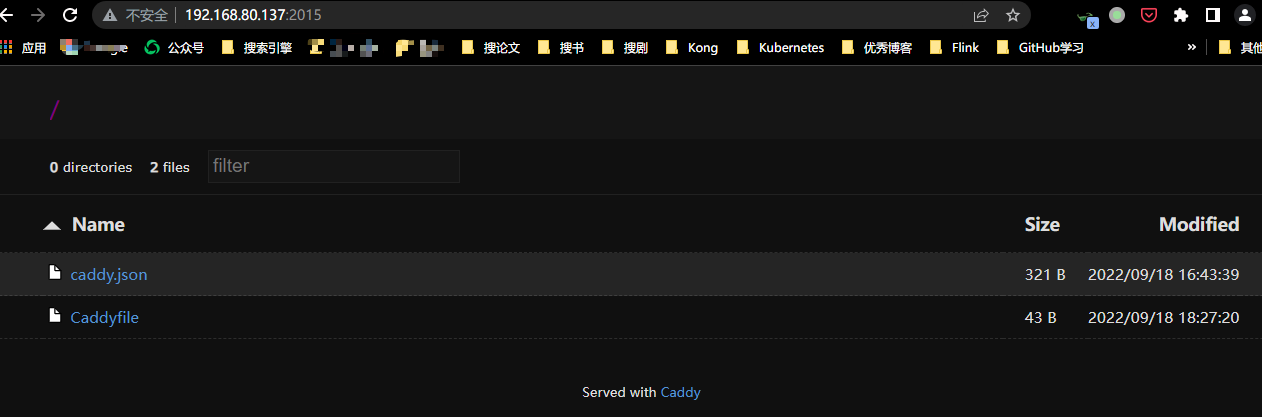
使用 文件服务功能时,切换到文件服务的根路径,启动 caddy,如果没有 index.html,可以带上 –browse 参数,在浏览器里就能浏览文件了。也可以通过 –root 来指定文件服务的根路径。
反向代理
再看看第二个核心功能——反向代理,反向代理的配置模型都差不多。
upstream 支持写 ip:port、域名、unix socket 等。
- 负载均衡方式支持
- random
- random_choose <n>,随机选出 n 个 upstream,选择负载最小的 upstream 转发流量
- first,按配置顺序查找,找到第一个可用的作为转发的 upstream
- round_robin
- least_conn
- ip_hash
- uri_hash
- header [field],根据头部进行粘滞转发,如果没有该头部字段则随机转发
- cookie [<name> [<secret>]]
提供两种对 upstream 的健康检查方式:active、passive。active 是基于定时器主动进行健康检查,passive 是有实际流量发生时才顺带进行健康检查。
一份粗略的反向代理配置
reverse_proxy [<matcher>] [<upstreams...>] {
	# backends
	to      <upstreams...>
	dynamic <module> ...

	# load balancing
	lb_policy       <name> [<options...>]
	lb_try_duration <duration>
	lb_try_interval <interval>

	# active health checking
	health_uri      <uri>
	health_port     <port>
	health_interval <interval>
	health_timeout  <duration>
	health_status   <status>
	health_body     <regexp>
	health_headers {
		<field> [<values...>]
	}

	# passive health checking
	fail_duration     <duration>
	max_fails         <num>
	unhealthy_status  <status>
	unhealthy_latency <duration>
	unhealthy_request_count <num>

	# streaming
	flush_interval <duration>
	buffer_requests
	buffer_responses
	max_buffer_size <size>

	# request manipulation
	trusted_proxies [private_ranges] <ranges...>
	header_up   [+|-]<field> [<value|regexp> [<replacement>]]
	header_down [+|-]<field> [<value|regexp> [<replacement>]]
	method <method>
	rewrite <to>

	# round trip
	transport <name> {
		...
	}

	# optionally intercept responses from upstream
	@name {
		status <code...>
		header <field> [<value>]
	}
	replace_status [<matcher>] <status_code>
	handle_response [<matcher>] {
		<directives...>

		# special directives only available in handle_response
		copy_response [<matcher>] [<status>] {
			status <status>
		}
		copy_response_headers [<matcher>] {
			include <fields...>
			exclude <fields...>
		}
	}
}
一个简单的例子
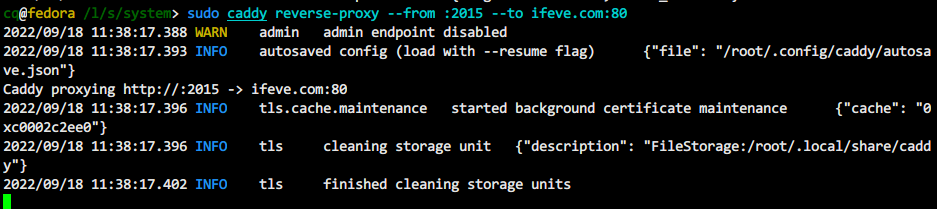

总体来说,用起来很方便,官方文档组织得也很舒服,配色挺不错。
下一次再来学习学习它的架构🤔
0 条评论